I forgot to mirror my HTV and ironed it backwards (here's how to fix it without wasting the shirt)
Ironed your HTV backwards because you forgot to mirror? I did it last week on a birthday shirt. Here's the actual fix that saved it, plus the one setting that prevents it.
I ironed a birthday shirt for my sister last Tuesday. Cut the design, weeded it, warmed the press, ironed it down for a full sixty seconds. Peeled the carrier sheet and the letters were backwards. Completely backwards. I'd forgotten to mirror the design in Cricut Design Space and now "BIRTHDAY GIRL" read like some kind of cryptic mirror realm declaration. I almost threw the shirt in the scrap bin, but then I remembered the hair dryer trick that's saved me twice before.
Why this happens (and why it'll probably happen again)
HTV is backwards by design. The shiny carrier sheet goes face-up when you cut, which means your design cuts in reverse on the actual vinyl layer underneath. When you iron it, you flip the whole thing so the vinyl faces down onto the fabric. The carrier sheet peels off after, and boom, your design is right-side-up on the shirt.
Except you have to tell Design Space to mirror the whole thing before you cut. If you don't, your design cuts right-side-up on the vinyl layer, which means it irons down backwards. I've done this four times in three years. The worst part is you don't realize until after you've ironed and peeled, and by then the adhesive has activated.
What I tried first (that didn't work)
My first instinct was to reheat the shirt and try to peel the vinyl back off while it was still warm. I set the EasyPress to 315°F, pressed for ten seconds, and tried to lift a corner with my weeding tool. The vinyl stretched, tore, and left a shiny adhesive smear on the fabric. The shirt looked worse than it did with backwards letters.
I also tried the freezer method I'd read about once, sticking the shirt in for twenty minutes and then trying to pop the vinyl off while it was cold and theoretically brittle. It did nothing. The HTV was bonded. I was stuck.
The fix that actually worked (you need a hair dryer and patience)
Here's what saved it. This works if you catch the mistake within a few hours and the vinyl hasn't fully cured yet. If you've washed the shirt or waited a week, you're out of luck and it's a sleep shirt now.
- Turn the shirt inside out. Lay it flat on a hard surface, design-side down, so you're looking at the inside of the fabric where the HTV is bonded.
- Grab a hair dryer. Set it to the highest heat setting. Hold it about two inches from the inside of the fabric, right over where the design is, and blast it for 30-45 seconds. You want the vinyl hot enough that the adhesive softens but not so hot that it melts into the fibers. Keep the dryer moving.
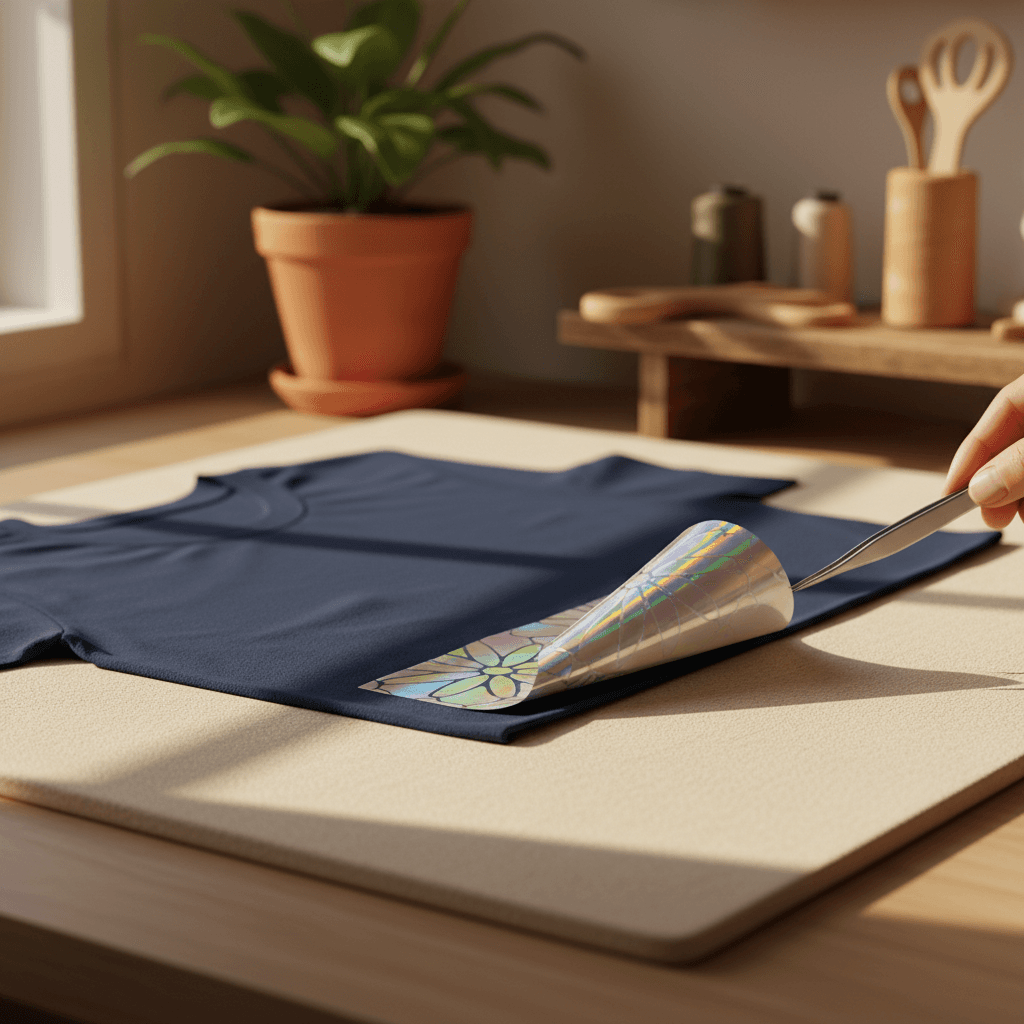
- Flip the shirt back to the front. Working fast while it's still hot, use your fingernail or a plastic scraper (I used an old credit card) to lift one corner of the design. If it doesn't budge, hit it with the hair dryer from the front for another 20 seconds and try again.
- Peel slowly at a low angle, keeping tension steady. If you yank, it'll tear and leave adhesive behind. The goal is to coax the whole piece off in one go. I got about 80% of my design off clean. The last 20% took three tries and left a faint shadow.
- Once it's off, let the shirt cool completely. Then hit any leftover adhesive residue with a cotton ball soaked in rubbing alcohol. Dab, don't scrub. Let it sit for a minute, then wipe gently. Most of the stickiness came off for me.
I re-cut the design, remembered to mirror it this time, and ironed it onto the same shirt. You can still see a very faint outline if you know where to look, but my sister didn't notice and the shirt survived.
When it's too late (and what to do instead)
If the HTV has been on the shirt for more than a day, or if you've already washed it, the adhesive has cured and this method won't work. I tried it once on a shirt I'd worn and washed, and the vinyl wouldn't lift at all. The hair dryer just made the fabric hot.
At that point your options are: turn it into a sleep shirt, cut a new design and layer it over the backwards one if the layout allows, or admit defeat and start over with a new blank. I've done all three. The layering trick worked once when I'd put a name on backwards; I just cut a large shape that covered the whole thing and ironed that on top. It looked intentional enough.
The checklist I actually follow now
I'm not going to pretend I never make mistakes anymore, but I have gotten better at catching this one before I waste a shirt. Here's the three-second check I run through now before I cut any HTV:
- Design loaded in Design Space? Check that the Mirror toggle is ON. It's gray when off, black when on. I click it twice just to be sure.
- Design on the mat? Glance at the preview screen on the Maker. If the text looks readable, something's wrong. It should look backwards.
- Carrier sheet peeling off after ironing? If the letters look wrong, STOP. Don't peel the rest. You can sometimes save it if you catch it mid-peel, reheat, press the carrier sheet back down, and try to transfer it to a different shirt while it's still hot. This has worked for me exactly once.
The other thing I do now is keep a scrap piece of fabric, an old white cotton dish towel, near my press. If I'm trying a new HTV or I haven't worked with a specific design before, I test it on the towel first. Cut a small version, mirror it, iron it, peel it. If it reads correctly on the towel, it'll read correctly on the real shirt. This adds two minutes to my workflow and has saved me four shirts so far this year.
I still think about that first birthday shirt I almost trashed. The hair dryer trick isn't magic and it won't work every time, but it's worth trying before you give up on a blank you just spent twelve dollars on. And if you do end up with a backwards design that won't budge, well, now you have a shirt you can wear to bed and a reminder to check that mirror toggle next time. I have three of those reminders folded in my pajama drawer.