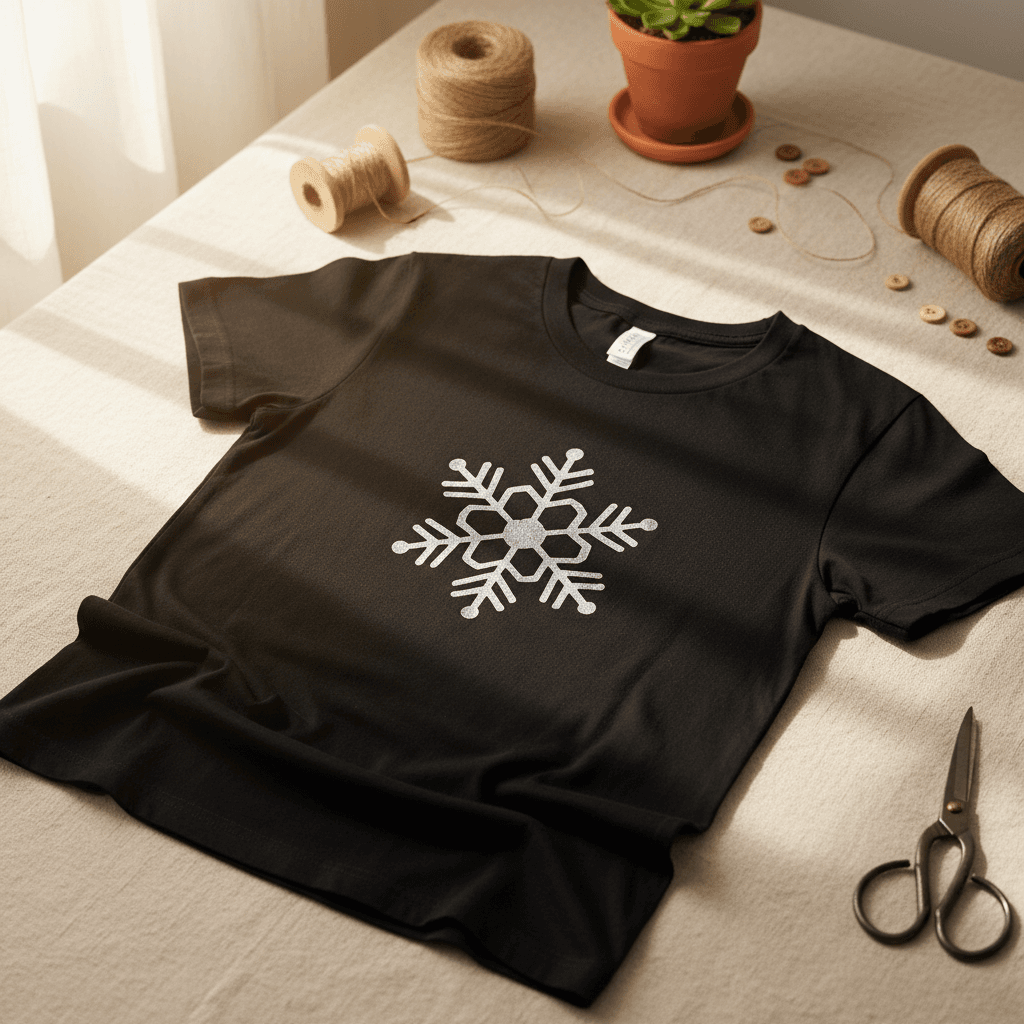
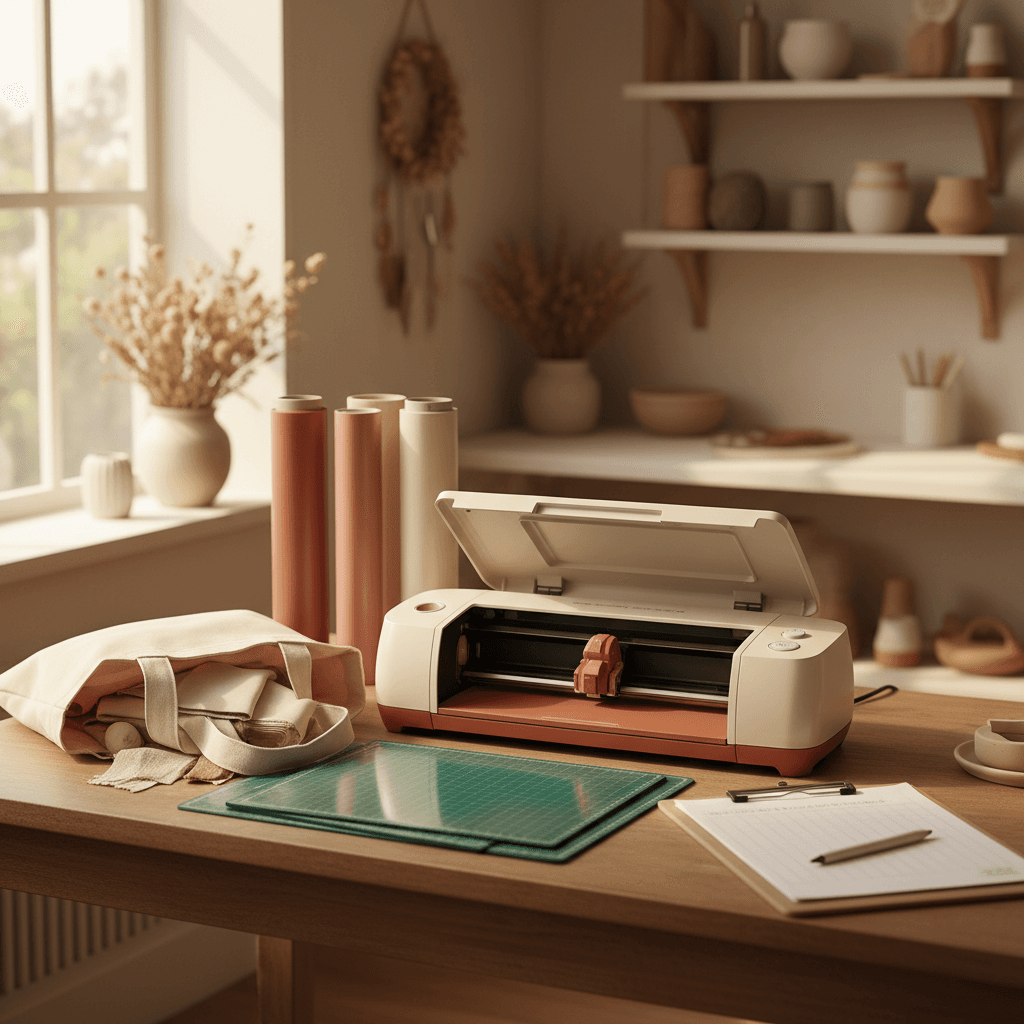
Three ways to cut vinyl pantry labels (and which one I actually use every time)
Permanent vinyl, removable vinyl, or HTV for pantry jars? I tested all three methods with the same SVG file. Here's what worked, what peeled off in a week, and the $4 roll I keep going back to.
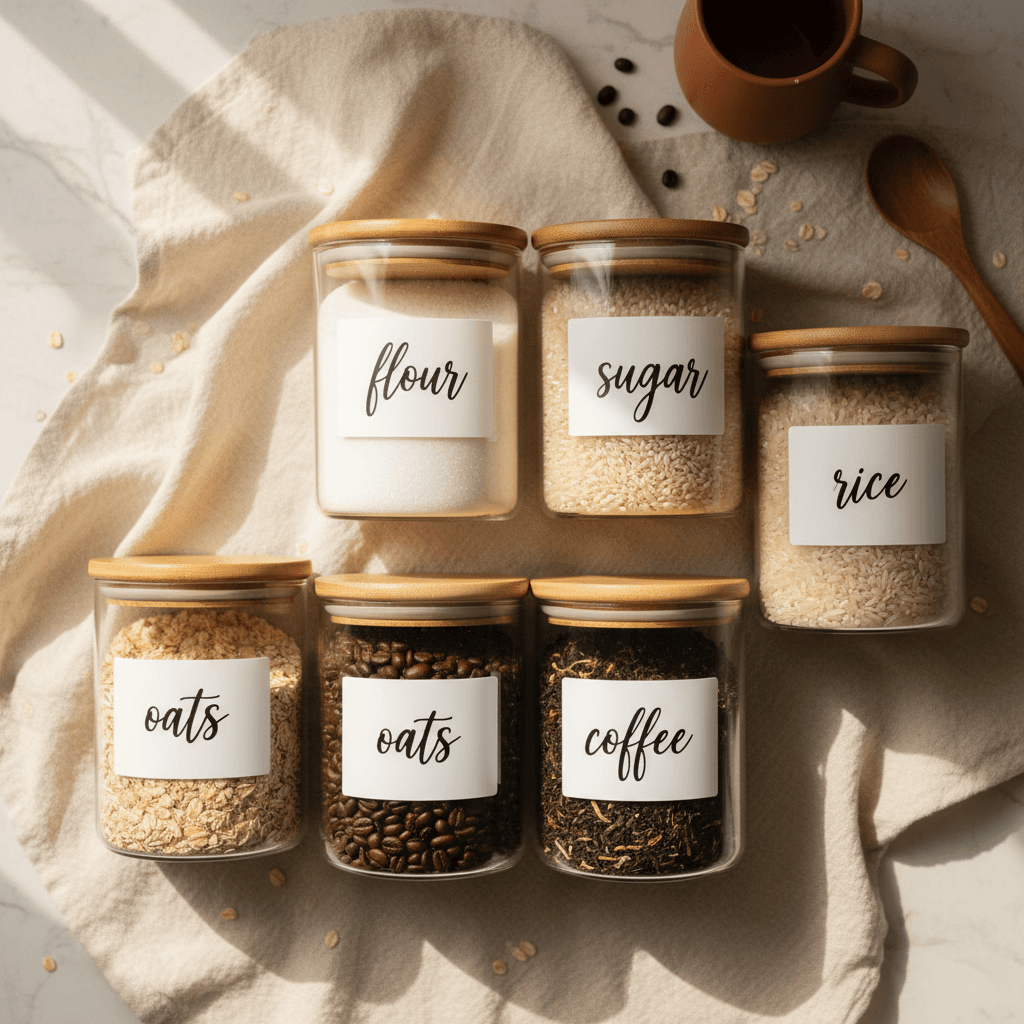
I've cut the same set of pantry labels three different ways now. Permanent vinyl that peeled off after I wiped the jars down. Removable vinyl that lasted exactly two pasta nights before the steam got under the edges. And then the method I keep coming back to, which uses a $4 roll of white HTV and takes about 90 minutes start to finish for a six-pack of labels that haven't budged in eight months.
What you need (and what each method costs)
All three approaches use the same base supplies. Six glass jars, whatever you've got. I use the Anchor Hocking 32oz ones from Target because the curve is gentle and vinyl likes that. One sheet of transfer tape if you're doing adhesive vinyl. Rubbing alcohol and a lint-free cloth for prep. And the SVG file, obviously. I'm using our Simple Pantry Labels set but any sans-serif text file works.
Method one is permanent vinyl. I used Oracal 651 in white, about $8 for a 12x12 sheet at Hobby Lobby. You'll get your six labels plus enough scrap for a couple extras. Method two is removable vinyl, same price, I tested Cricut's own brand. Method three is HTV. I used Siser EasyWeed in white, which runs about $4 for a 12x15 sheet on Amazon and you'll have half the sheet left over.
Method one: permanent vinyl (the one I wanted to love)
Cut your labels on a regular grip mat, Cricut's vinyl setting works fine. Weed, apply transfer tape, burnish. Wipe down your jars with rubbing alcohol, let them dry completely, then apply. I pressed each label for about 30 seconds with my fingers, peeled the transfer tape slowly at an angle.
They looked perfect. Clean, crisp, exactly what I wanted. Then I hand-washed one of the jars a week later and the corner of the label lifted. Not much, just enough to bug me. Two weeks in, three of the six were peeling at the edges. The sugar jar, which sits near the stove and gets warm, lost half its label when I wiped flour dust off it.
Permanent vinyl is great for stuff that doesn't get wet or warm. Car decals, laptop stickers, the front of a recipe binder. Pantry jars get both, constantly, and I think that's the problem. Time to cut: 45 minutes including weeding and application. Lifespan: two weeks before I got annoyed and peeled them all off.
Method two: removable vinyl (which lasted exactly one steamy dinner)
Same process as permanent. Cut, weed, transfer tape, apply. Removable vinyl is supposed to be gentler, easier to reposition, which sounded good for jars I might want to relabel later. It stuck fine initially. Looked identical to the permanent batch.
I made pasta two days later. Big pot of boiling water, steam everywhere, and when I grabbed the flour jar to make a quick roux the label was already bubbling at the bottom edge. By the time I finished cooking, it had peeled halfway up. The rice jar, which sits on the shelf above the stove, did the same thing the next morning when I made oatmeal.
Removable vinyl is for walls, for temporary signage, for things that live in climate-controlled rooms where nobody cooks. Not for kitchens. Time to cut: 45 minutes. Lifespan: 48 hours.
Method three: HTV on glass (the weird one that works)
This sounds wrong. HTV is for fabric, right? But it bonds to glass permanently if you do it right, and it doesn't care about steam or water or heat because it's already been heat-pressed. Cut your labels mirrored on the Cricut's heat transfer vinyl setting. Weed. Wipe down your jars with alcohol, let them dry.
Here's the trick. You can't use an iron because the curve of the jar makes contact uneven. I used my EasyPress Mini, set to 300°F, 30 seconds per label. Press the HTV carrier sheet directly onto the glass, no transfer tape. I held the jar steady with a folded kitchen towel so I didn't burn my hand. Let it cool for a full minute, then peel the carrier sheet slowly.
Two labels didn't stick on the first try. The corners lifted when I peeled. I just reheated for another 15 seconds and they locked down. The other four were perfect on the first pass. That was eight months ago. I've washed these jars in hot soapy water probably forty times. I've wiped them down with vinegar spray. The pasta jar lives right next to the stove and gets condensation on it weekly. Not one edge has lifted.
- Time to cut: 30 minutes for cutting and weeding, another hour for pressing all six jars because you have to do them one at a time and let each cool.
- Cost: $4 for the HTV sheet, $0 for materials you already own (rubbing alcohol, towel).
- Lifespan: still going at eight months, zero signs of wear.
- Leftover half-sheet of white HTV is now a stack of custom coasters I pressed onto cork rounds.
The one thing that will trip you up
You will forget to mirror. I did it on the first jar, pressed it, peeled it, and saw backwards text staring at me. With adhesive vinyl you can sometimes peel and reapply if you're fast. With HTV you're done, it's trash, cut a new one. Set your Design Space file to mirror before you even load the mat.
The second thing is heat time. Thirty seconds feels too short when you're standing there holding a hot press against a jar. You'll want to go longer. Don't. If you overheat HTV on glass it can scorch or the adhesive can spread under the edges and look cloudy. Thirty seconds, peel, check. If it didn't stick, reheat for 15 more. That's it.
Which method I'd actually use again
HTV, every time. It's the only one that survives real kitchen use. Permanent vinyl is cheaper per label and faster to apply, so if you're doing a gift set someone's going to put on a shelf and never touch, go for it. But if you're labeling jars you actually use, the extra hour of pressing time is worth it.
Removable vinyl I can't think of a single pantry use case for. Maybe if you're labeling bins in a closet where there's no moisture and you want to swap labels seasonally. But in a kitchen it's a waste of material.
The leftover HTV is the other reason I keep coming back to this method. Half a sheet of white EasyWeed is enough for a dozen small projects. I've used mine for coasters, a custom label on my recipe binder, a name tag on my daughter's lunchbox. Leftover adhesive vinyl just sits in a drawer because the pieces are too small and oddly shaped to use for anything else.
I still have the jars with the HTV labels. They're holding flour, sugar, rice, oats, coffee, and baking soda, and they look the same as they did in March. The permanent vinyl batch lasted two weeks. The removable batch lasted two days. Sometimes the method that sounds wrong is the only one that works, and HTV on glass is one of those things.