The thirty-minute pet memorial ornament I made with leftover chipboard (and why I skip the fancy finish)
A simple bone or paw-shaped chipboard ornament you can cut and paint in under an hour with materials you probably already have. No Cricut Access required.
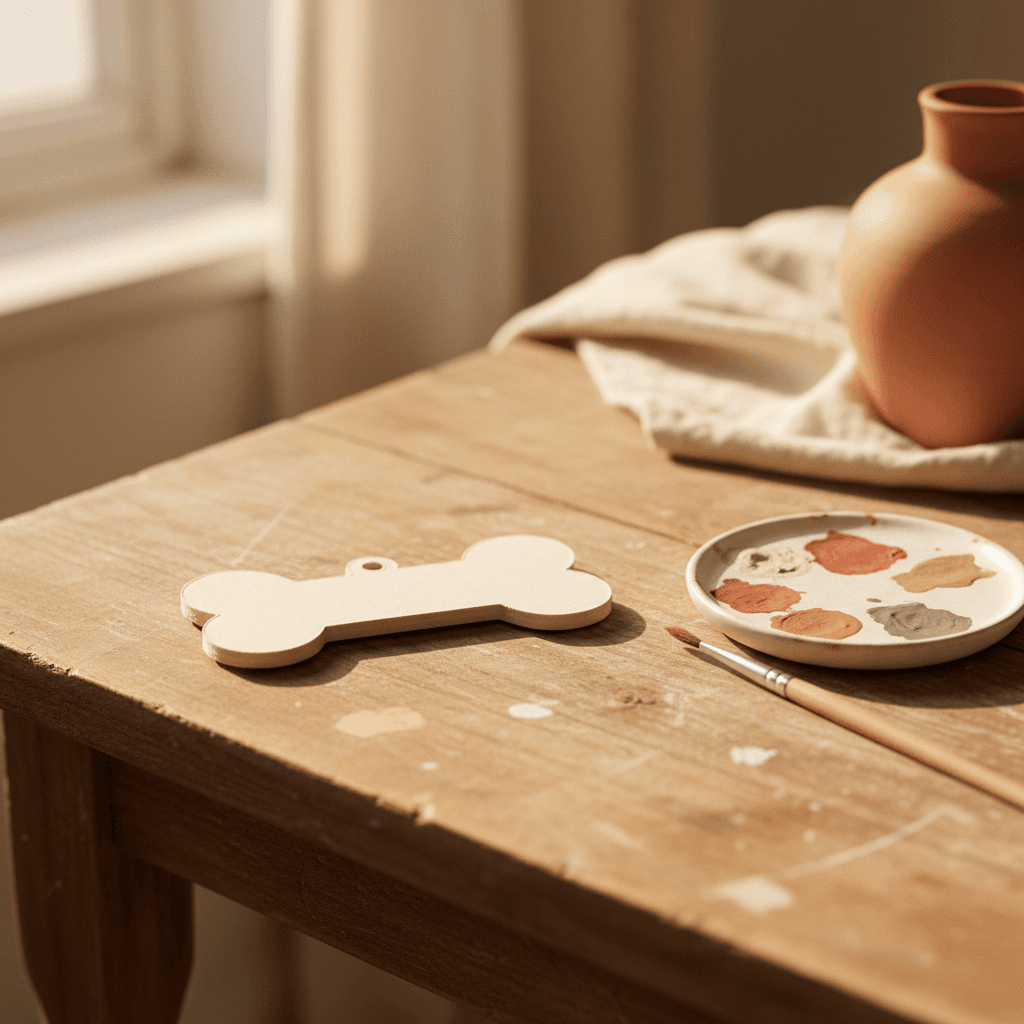
My friend's dog died two weeks before Christmas last year. I had about 90 minutes before I needed to drive to her place, a 6x9 scrap of chipboard, and zero interest in making something that looked like it came from Etsy. This is that ornament. It's not fancy, and that's exactly why it worked.
What you need (and what you can skip)
One 6x9 inch piece of medium chipboard. The brown kind from the craft store, not fancy white board. You're painting it anyway. If you've got scrap from another project, use that. One SVG of a bone, paw, or heart shape. Ours is 4 inches wide when scaled, but anything between 3-5 inches works. Acrylic craft paint in one or two colors. I used a $1.50 Walmart burnt sienna. A foam brush or literally any brush you don't care about. Twine or ribbon for hanging, maybe 8 inches. A fine-point Sharpie or paint pen if you want to add a name.
Skip the sealer. Skip the glitter. Skip the fancy calligraphy. This isn't an Etsy product, it's something you made because you care, and that difference shows up in how it looks. The edges stay raw chipboard. The paint can be uneven. It's better that way.
The actual cut (15 minutes, including the mess-up)
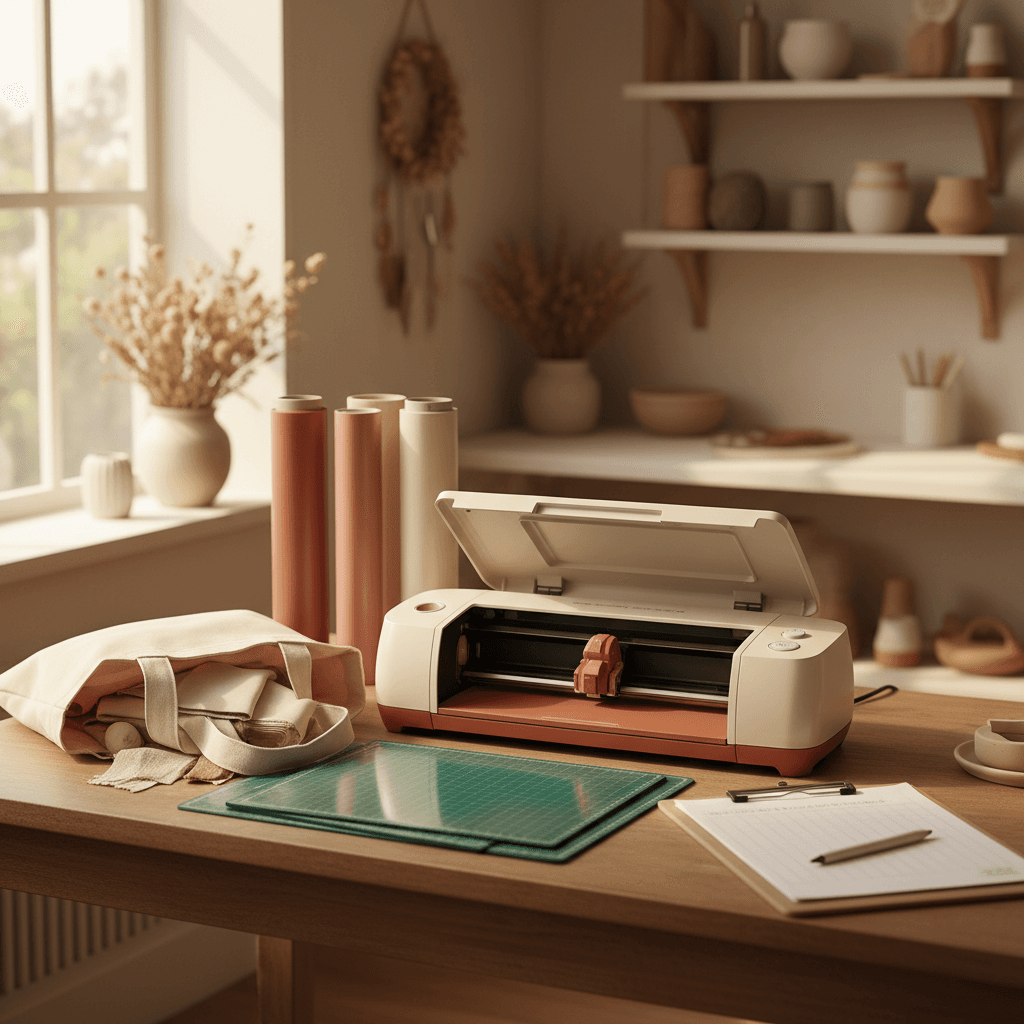
Load your chipboard onto a StandardGrip mat. If your mat's losing stick, this is actually the project to use it on because chipboard doesn't lift mid-cut the way vinyl does. Set your Cricut to Chipboard in the material menu. If you're on a Maker, it'll use the deep-point blade. If you're on an Explore, it'll do multiple passes with the fine-point and it takes longer but works fine.
Scale your shape to about 4 inches at its widest point. Bigger than that and you're using a lot of material for one ornament. Smaller and the details get lost when you're holding it at arm's length on a tree. Send it. The cut takes about 8 minutes on a Maker, maybe 14 on an Explore with three passes.
Painting it (the lazy way that looks better)
One coat of paint. That's it. I brushed burnt sienna onto the front and about a quarter-inch down the sides. The back stays raw chipboard because nobody's looking at the back of an ornament on a tree. Let it dry for 20 minutes while you clean your mat or scroll your phone or whatever.
If the paint looks streaky, good. If you can still see the chipboard texture through it, even better. This isn't supposed to look manufactured. The whole point is that it looks like you made it in your kitchen, because you did.
Once it's dry, use a Sharpie or a white paint pen to write the pet's name. I printed out the name in a font I liked, traced it lightly in pencil, then went over it in marker. It took three minutes and it's wobbly in two spots and my friend cried when she opened it, so I'm calling that a win.
Hanging it and the detail nobody notices but you
Punch a small hole near the top with a regular hole punch or a 1/8 inch craft punch if you're feeling precise. Thread twine or thin ribbon through. I used jute twine because I had it. Tie it off. Done.
Here's the thing nobody tells you about memorial ornaments. The fancy ones from Etsy with the laser engraving and the gloss finish and the perfect calligraphy feel like you bought something. This one, with the uneven paint and the hand-lettered name and the raw chipboard edges, feels like you made something. Those are not the same thing, and in this specific situation the second one matters more.
What to do with the leftover chipboard
If you bought a full 12x12 sheet for this, you've got most of it left. Cut gift tags. Cut coasters. Cut more ornaments because honestly once you make one of these you'll think of three more people who'd want one. I cut four bone shapes from one sheet, painted two, and saved two unpainted for later. They're sitting in a drawer and I know exactly where they are for the next time I need them.
The whole project took me about 35 minutes start to finish, not counting dry time. It cost maybe $4 in materials I already had. I didn't seal it, didn't add glitter, didn't try to make it look professional. My friend hung it on her tree that year and texted me a photo of it again this past Christmas. Still there. Still unprofessional. Still the one that mattered.