The dog tag ornaments I cut while my niece was napping (and why I'll never buy them again)
A 45-minute project for personalized pet ornaments using one sheet of chipboard, a bone-shaped SVG, and paint markers. Materials under $15, leftovers make six more.
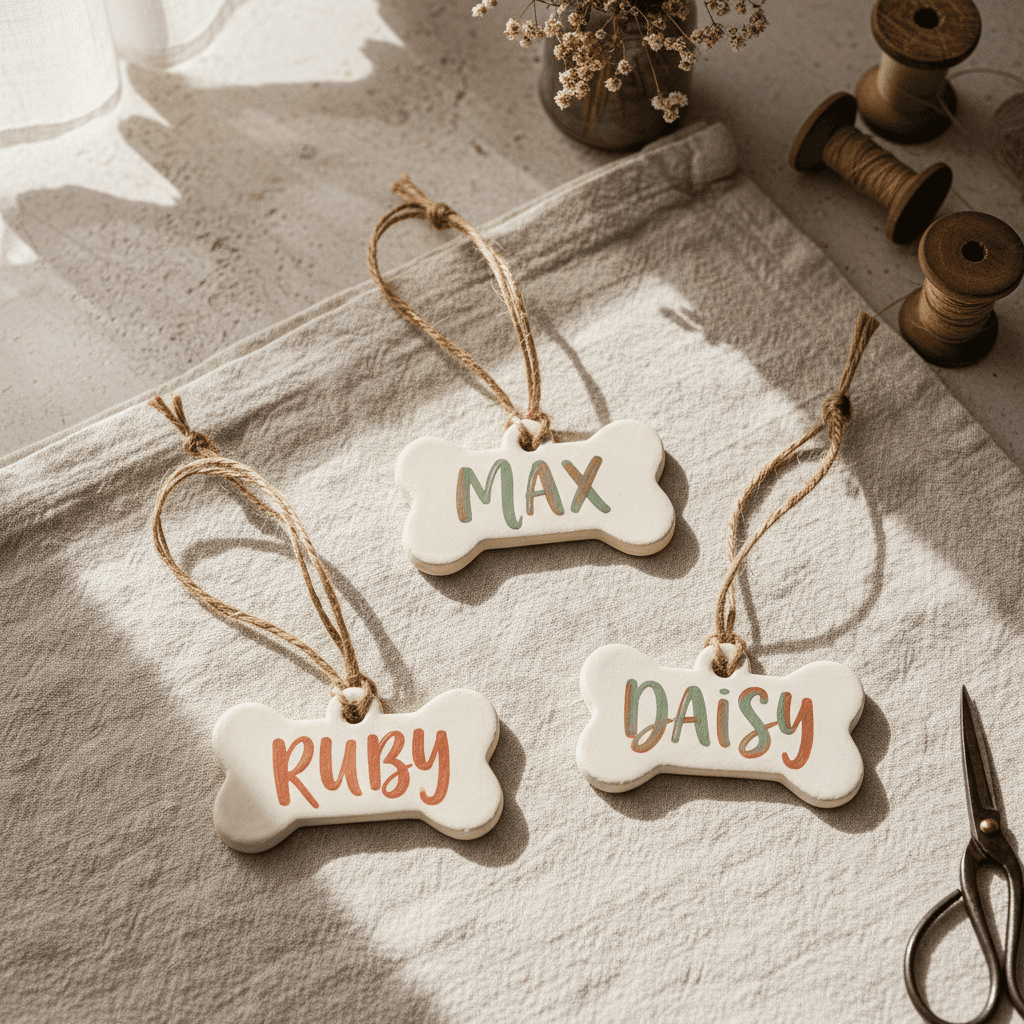
Last Saturday my three-year-old niece went down for a nap at 1:30 and I had exactly ninety minutes before she woke up demanding goldfish crackers. I'd been meaning to make Christmas ornaments for my sister's two dogs since July. I grabbed a 12x12 sheet of chipboard from the drawer, found a bone SVG I'd bought months ago and never opened, and committed to finishing before the monitor started beeping. I did. Barely.
What you actually need (and what it costs)
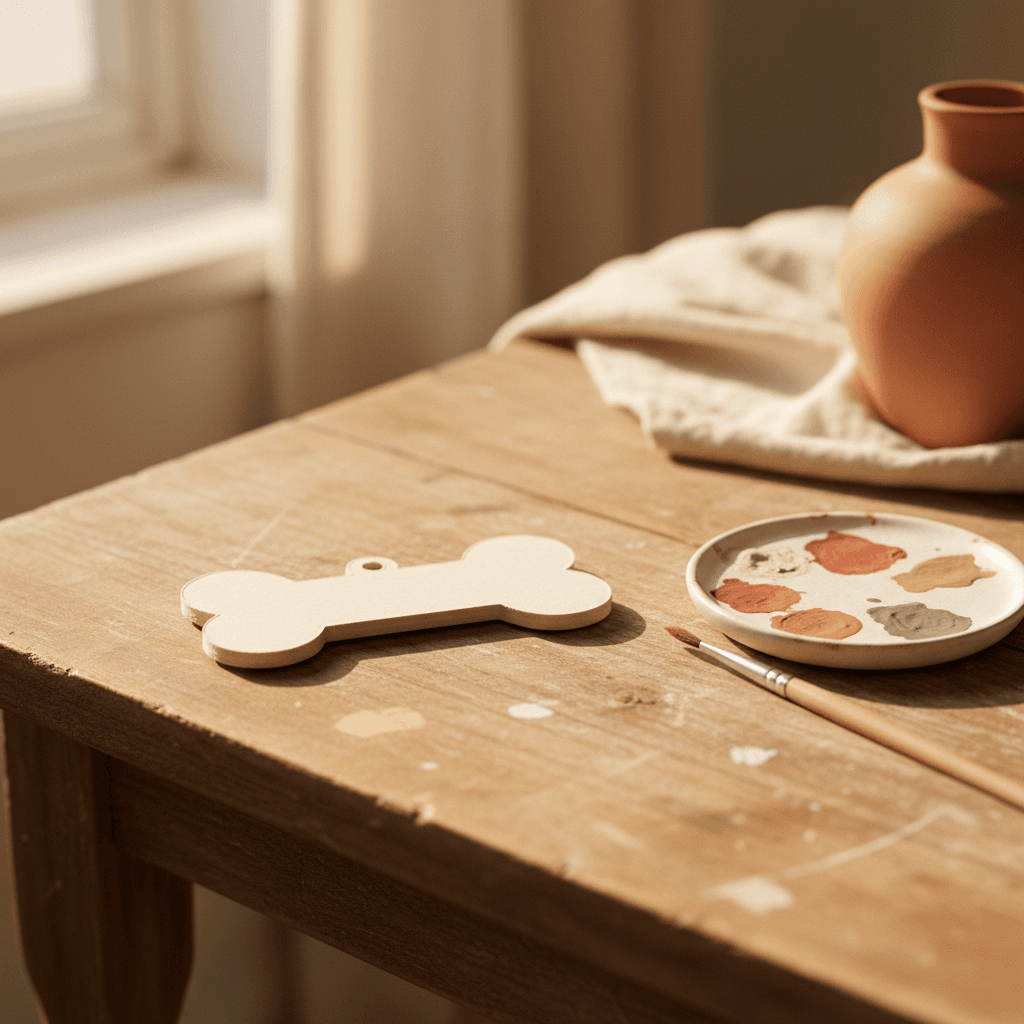
One 12x12 sheet of medium-weight chipboard, the kind that's about 1mm thick. I used Cricut's chipboard but the Michaels store-brand works the same and it's $4 for two sheets instead of $7 for one. You need a bone-shaped SVG, obviously. Ours is in the shop for $1.50 but any simple bone outline works, just make sure it doesn't have a million interior cut lines or you'll be weeding forever.
- One 12x12 chipboard sheet: $2-4
- Bone SVG (3-4 inch size works best): $1.50 or free from various sites
- Paint markers in 2-3 colors (Posca or Sharpie oil-based): $8 for a pack, you'll use two
- Twine or ribbon for hanging loops: $3, you need maybe two feet total
- Hole punch (the regular office kind): you already own this
Total spend if you're starting from zero is about $18. If you already have markers and twine, it's under five bucks. The leftover chipboard makes six more ornaments easy, so the per-unit cost is stupid low.
How to size the bones so they actually fit on one mat
Here's where I messed up the first time. I made the bones 5 inches wide because that felt right. Wrong. At 5 inches I could only fit three on the mat and I wanted to make at least four. I resized to 3.5 inches wide and suddenly I had room for six bones in two rows of three, with enough margin that the blade wouldn't skip at the edges.
In Cricut Design Space, arrange them in a grid. Leave at least half an inch between each bone and a full inch from the mat edges. Chipboard is thicker than cardstock and the blade needs space to enter and exit cleanly. I learned this by watching the blade drag and tear the corner of bone number two.