Why our new autumn oak leaf file has that weird gap in the stem (and why your Cricut will thank you)
That space in the stem isn't a mistake. It's the one design choice that keeps this fall leaf from shredding when you weed it, and it makes layering way easier too.
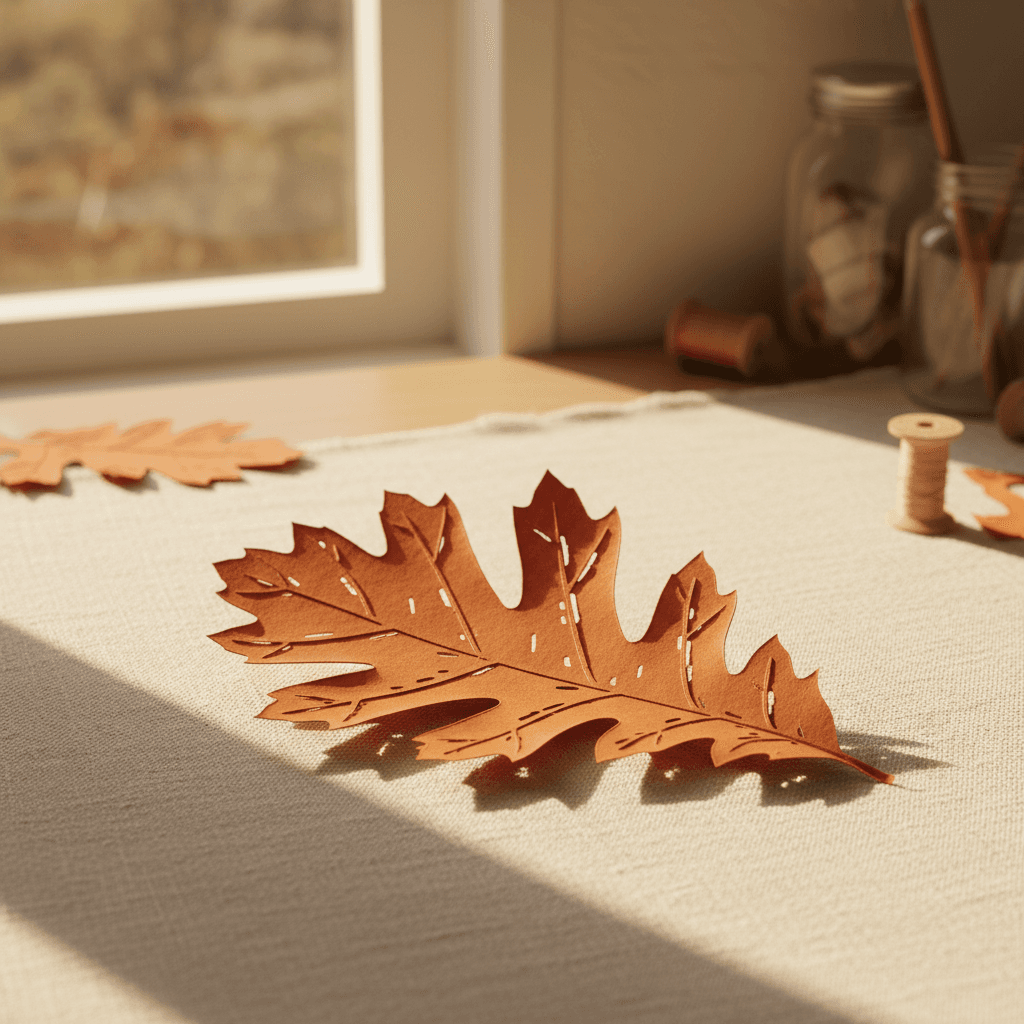
I drew the new autumn oak leaf file with a little gap where the stem meets the blade. It looks weird when you zoom way in. But that quarter-inch space is the reason this leaf actually cuts clean and doesn't turn into a pile of torn vinyl scraps when you try to weed around those veins. Let me walk you through why it's there and what it does for your project.
Why cutting files need breathing room (especially around stems)
Your Cricut blade moves fast. When it hits a really tight corner or a spot where two thin lines meet at a sharp angle, the blade can skip, drag, or tear the material instead of cutting clean. Oak leaves have this built-in problem because the stem base is thick and the leaf blade fans out wide from that one narrow point.
If I drew the file with the stem connected directly into the leaf body, you'd get a spot where three or four cut lines converge within a millimeter. That's when things rip. Especially if you're cutting something delicate like tissue-weight cardstock or thin vinyl. The gap spreads those cut lines apart just enough that the blade enters and exits cleanly.
Weeding is where this design actually pays off
Weeding is the part where you pick away the vinyl or paper you don't want. With a design this detailed (oak leaves have those deep lobes and little vein lines), weeding can turn into surgery if the cuts aren't clean. That gap at the stem gives you a place to start. You can grab the center scrap, pull gently, and the whole interior piece lifts without tugging on the delicate leaf edges.
I tested this with Oracal 651 vinyl on a standard Cricut Maker, fine-point blade, and the weeding took maybe 90 seconds for a four-inch leaf. No tweezers, no squinting. The version I drew without the gap took twice as long and I tore one of the lobes completely off because the stem piece was still attached and I pulled too hard.
Three projects where this file actually works
Okay, so what do you do with an oak leaf file once you've cut it? Here are three things I've made with it in the last two weeks, all beginner-friendly.
- Layered fall wreath. Cut the leaf in three sizes (the file scales beautifully from 2 inches to 10 inches). Use rust, gold, and olive cardstock. Glue them overlapping on a grapevine wreath base from the craft store. The gap in the stem doesn't show when leaves are layered, and the clean cuts mean your edges look crisp even from two feet away.
- Iron-on tote bag. Cut the leaf from Siser EasyWeed in chocolate brown and press it onto a canvas tote. Set your Cricut to Iron-On, heavy pressure. Press at 305°F for about a minute with a pressing cloth. The veins in this file are thick enough that they transfer without peeling, and the gap keeps the stem from bubbling because there's no trapped material pocket.
- Painted wood sign. Cut the leaf as a stencil from adhesive vinyl. Stick it to a piece of sanded pine board (I used a 1x6 from Home Depot, about $4). Paint over it with burnt orange acrylic, peel the stencil while the paint's still wet, and you've got a reverse leaf design. The gap actually helps here too because you can lift the stem piece separately if it sticks.
The material and machine combo I'd start with
If you're trying this file for the first time, use medium-weight cardstock (65 lb or 80 lb) and a Cricut Maker or Explore Air 2 with the fine-point blade. Set Design Space to Cardstock, Medium Weight. Don't use the deep-cut blade, you don't need it. Don't use patterned paper for your first attempt because the pattern can hide whether your cuts are actually clean.
Plain colored cardstock shows you everything. If a line tears or the blade skips, you'll see it immediately and you can adjust pressure (bump it one notch higher) or slow the cut speed (More > Edit Tools > set Cut Speed to less). Once you've cut one leaf cleanly, you know your settings and you can batch-cut a dozen for a wreath or garland.
Why this design choice shows up in a lot of our botanical files
You'll see this same approach in the olive branch file, the lavender sprig, and the new fern frond we added last month. Any time a design has a central stem with delicate branching, I build in small gaps or slight offsets to keep the cut lines from piling up in one spot. It's not about making the file look perfect on screen. It's about making sure your actual cut doesn't turn into a mess.
Some SVG shops draw everything to look good as a digital illustration. That's fine if you're printing it. But if you're cutting it, those files fall apart because the designer never tested them with a blade. I draw these files at my kitchen table with my Cricut running next to me. If it doesn't cut clean on the first try, I redraw it until it does.
That gap in the stem isn't elegant, I'll give you that. But it's there because it works. Your cuts come out cleaner, your weeding goes faster, and your finished project looks like you knew what you were doing. Next time you see a weird little design choice in one of these files, assume it's there for a reason and try cutting it before you fix it.