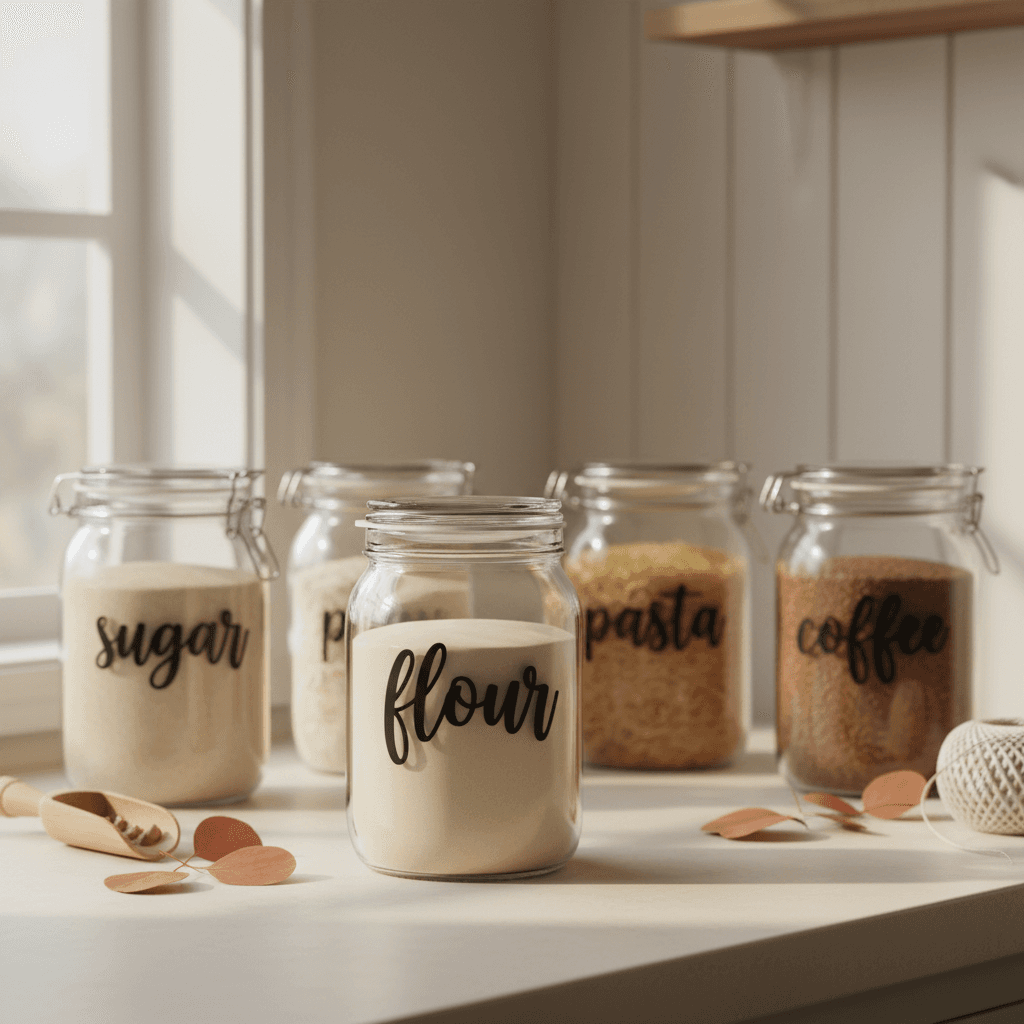
Six vinyl pantry labels you can cut in one mat-load (and actually finish today)
A realistic Saturday project: custom pantry labels with $15 of vinyl, 90 minutes, and one Cricut mat. Here's what actually works (and the one step that'll mess you up).
Last month I spent three hours making pantry labels because I kept messing up the weeding. Then I figured out you can do six labels in one mat-load if you nest them right, and the whole thing takes 90 minutes start to finish. This is that project, with the one trick that'll save you from peeling up half your letters.
What you need (and what it actually costs)
Here's the real material list. I priced this at my local Hobby Lobby last week, but you can get most of it cheaper online if you're not in a hurry.
- One 12x12 sheet of permanent vinyl in black (Cricut brand is $4, Oracal 651 is $2.50 if you buy a multi-pack)
- Six 16oz glass jars with flat fronts (Dollar Tree has them, $1.25 each, or use what you've got)
- One roll of transfer tape, 6 inches wide (Cricut standard grip is $8, cheap stuff from Amazon is $5 and works fine)
- Rubbing alcohol and a paper towel for jar prep
- Your weeding tool and a brayer or old credit card
Total cost if you're buying everything new is about $18. If you've already got vinyl and transfer tape, you're looking at maybe $8 for jars. Time estimate is 90 minutes, but that includes the part where you accidentally weed out the center of your 'o' and have to recut one label. Ask me how I know.
The label layout that actually fits on one mat
Okay, this is the thing that took me forever to figure out. You can't just throw six 4-inch labels onto a 12x12 mat and hope. They won't fit. What works is sizing each label to 3.5 inches wide by 1.5 inches tall, then nesting them in two rows of three.
I use a simple sans-serif font (Montserrat Bold works great, or Futura if you've got it) at about 1 inch tall for the letters. In Cricut Design Space, duplicate your first label five times, change the text for each one (flour, sugar, rice, oats, coffee, tea, or whatever you actually keep in jars), then arrange them with about half an inch of space between each. You want them close enough to maximize your vinyl but far enough apart that weeding doesn't turn into surgery.