The thirty-second cardstock score I wish I'd learned three years ago
One quick scoring pass with your Cricut stylus transforms cheap cardstock into crisp, professional-looking folded cards. Here's the weekend project that taught me why.
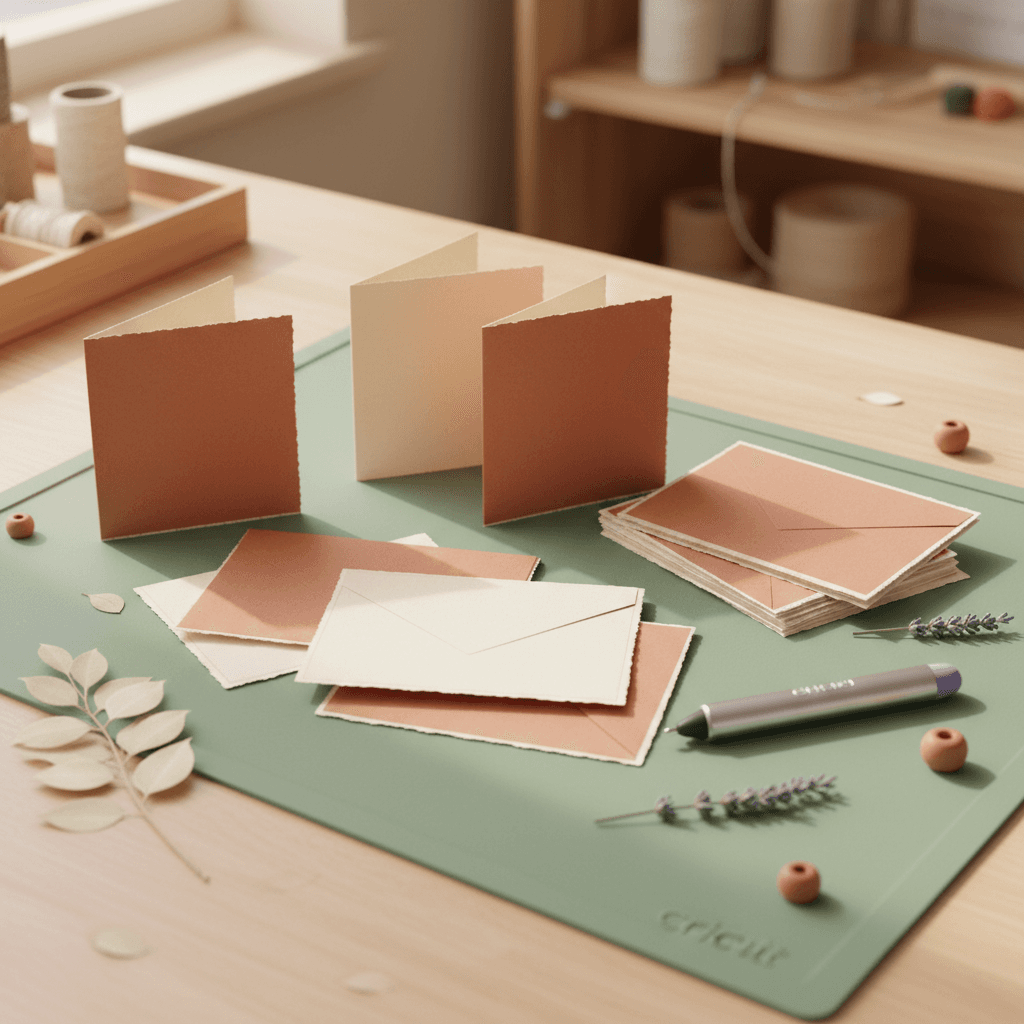
I folded cardstock wrong for three years. Not wrong enough that anyone said anything, but wrong enough that my cards always had that slightly lumpy crease down the middle. Then I watched someone at a craft fair score a card with a Cricut stylus and the fold was so clean it looked machine-made. Because it was. This weekend I made a set of eight greeting cards that actually look like I bought them, and the whole batch took ninety minutes.
What you need (and what it costs)
This is a genuinely cheap project. You need 8.5x11 cardstock in two colors. I used an ivory textured pack from Michaels and a rust-colored pack from the same brand. Both were $6.99 for 25 sheets, so one pack of each gives you enough for at least 20 cards with leftovers. You also need the Cricut scoring stylus. If you don't have one, it's $7 on Amazon and worth every penny for any folded project. That's it. No vinyl, no transfer tape, no weeding.
- Two packs of 8.5x11 cardstock (textured or smooth, your call), $14
- Cricut scoring stylus, $7 if you don't have it
- One simple SVG with a score line built in (I used a monogram border card from CutFileVault)
- 90 minutes of actual hands-on time, including loading the mat four times
The thing I got wrong for years
When you fold cardstock without scoring it first, you're basically crushing the fibers. The fold never sits flat and the crease looks fuzzy under any kind of light. I used to think this was just how homemade cards looked. Turns out the scoring stylus makes a shallow indent along the fold line that the paper wants to collapse into. The difference is absurd. My first scored card folded so crisply I thought I'd done something wrong.
How the project actually goes
Each card is 5x7 when folded, so you cut two rectangles per 8.5x11 sheet. I alternated colors so half the cards had ivory fronts with rust interiors and half were reversed. Load your mat, let the Cricut score first, then cut. The machine pauses between the two actions and swaps the blade for the stylus automatically if you have an Explore or Maker. Takes about four minutes per mat.